Email Settings for Scheduled Reports
Please refer this guide if email settings are not configured.
1. Generate the preview link:
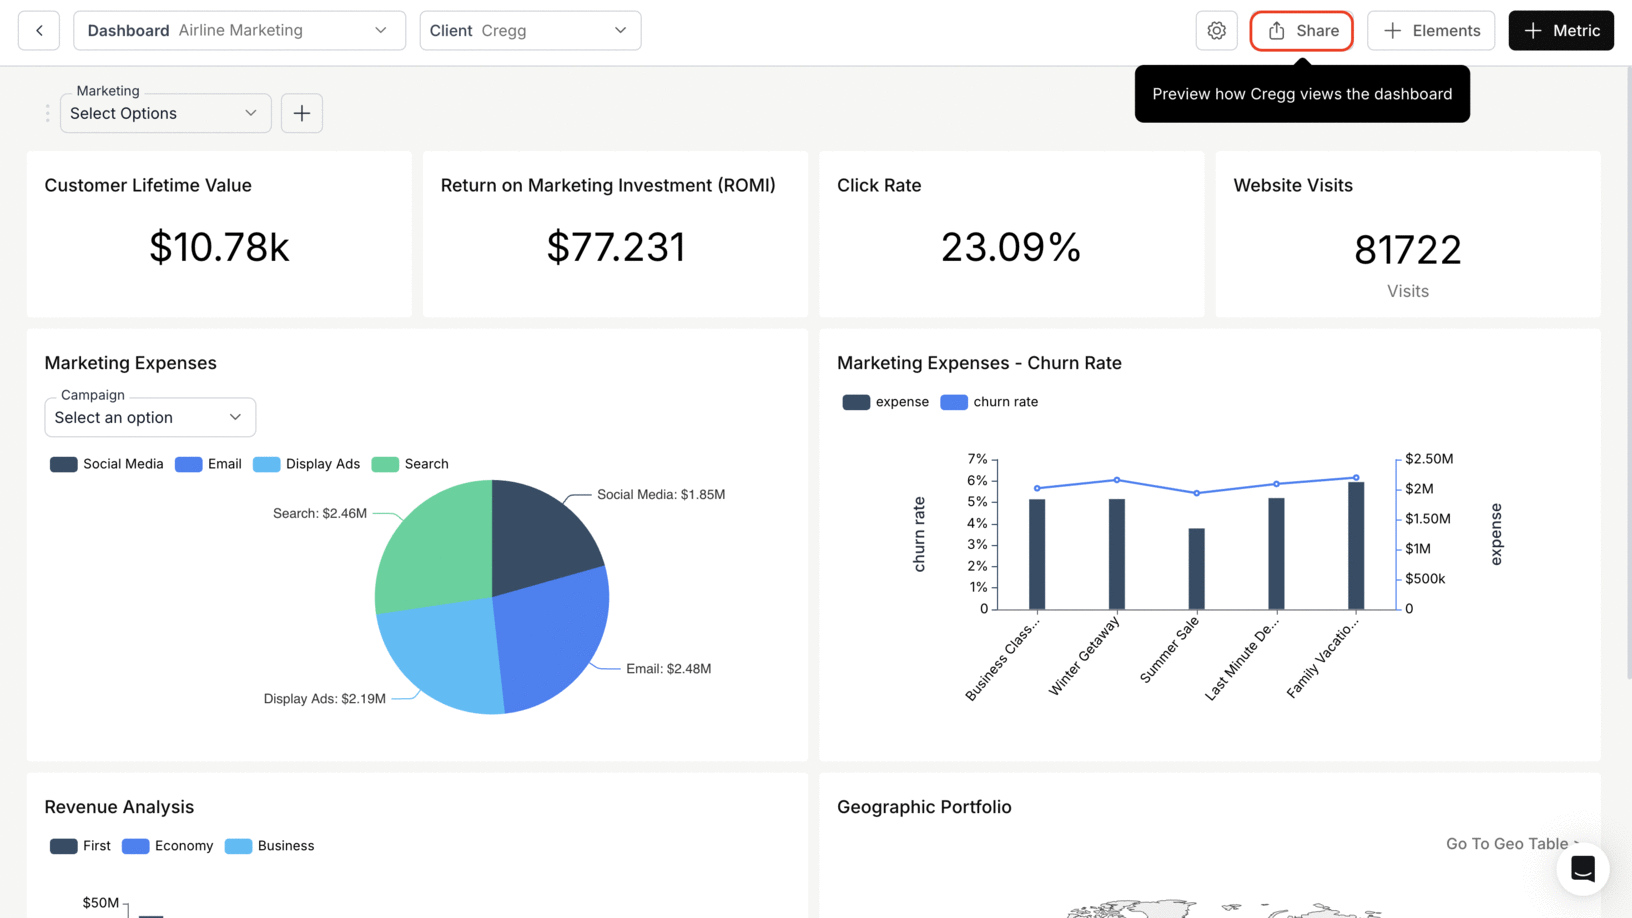
- Navigate to your dashboard and click on “Share” icon.
- Turn on the “Schedule Email Reports” toggle and click on the “Generate Link” button
- Click on “Preview” button.
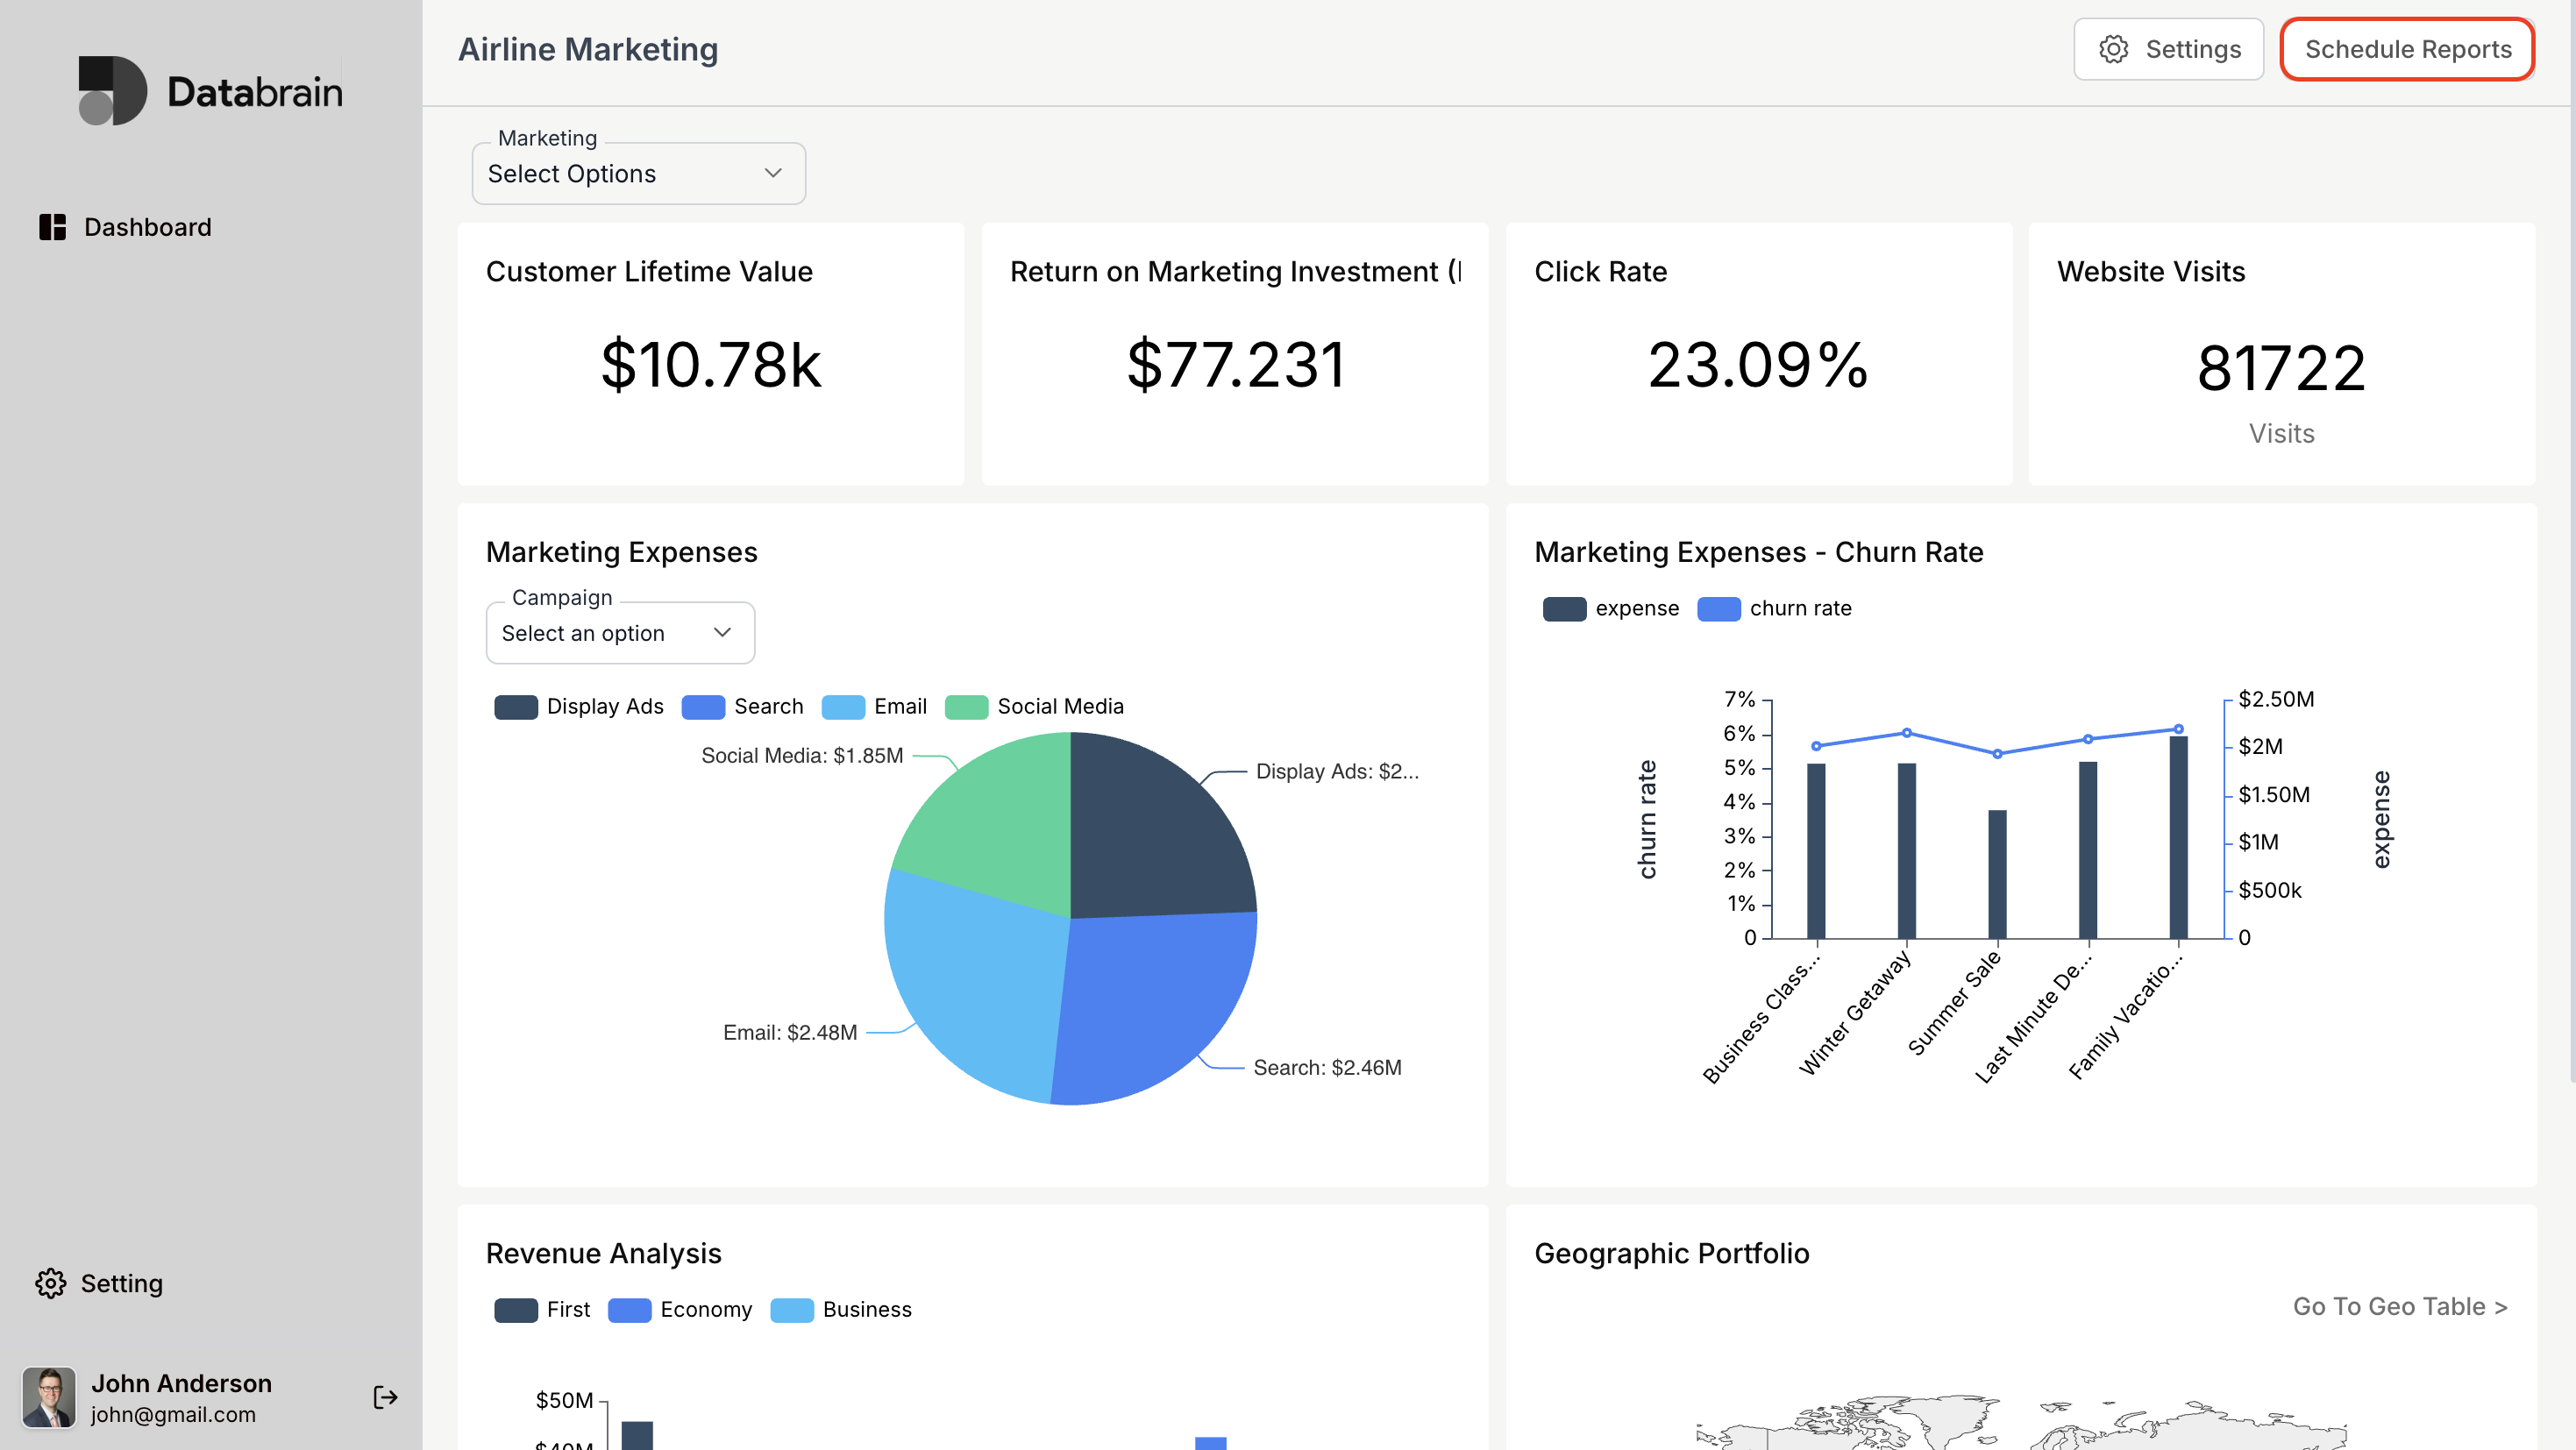
2. The dashboard will be displayed and click on “Scheduled Reports”
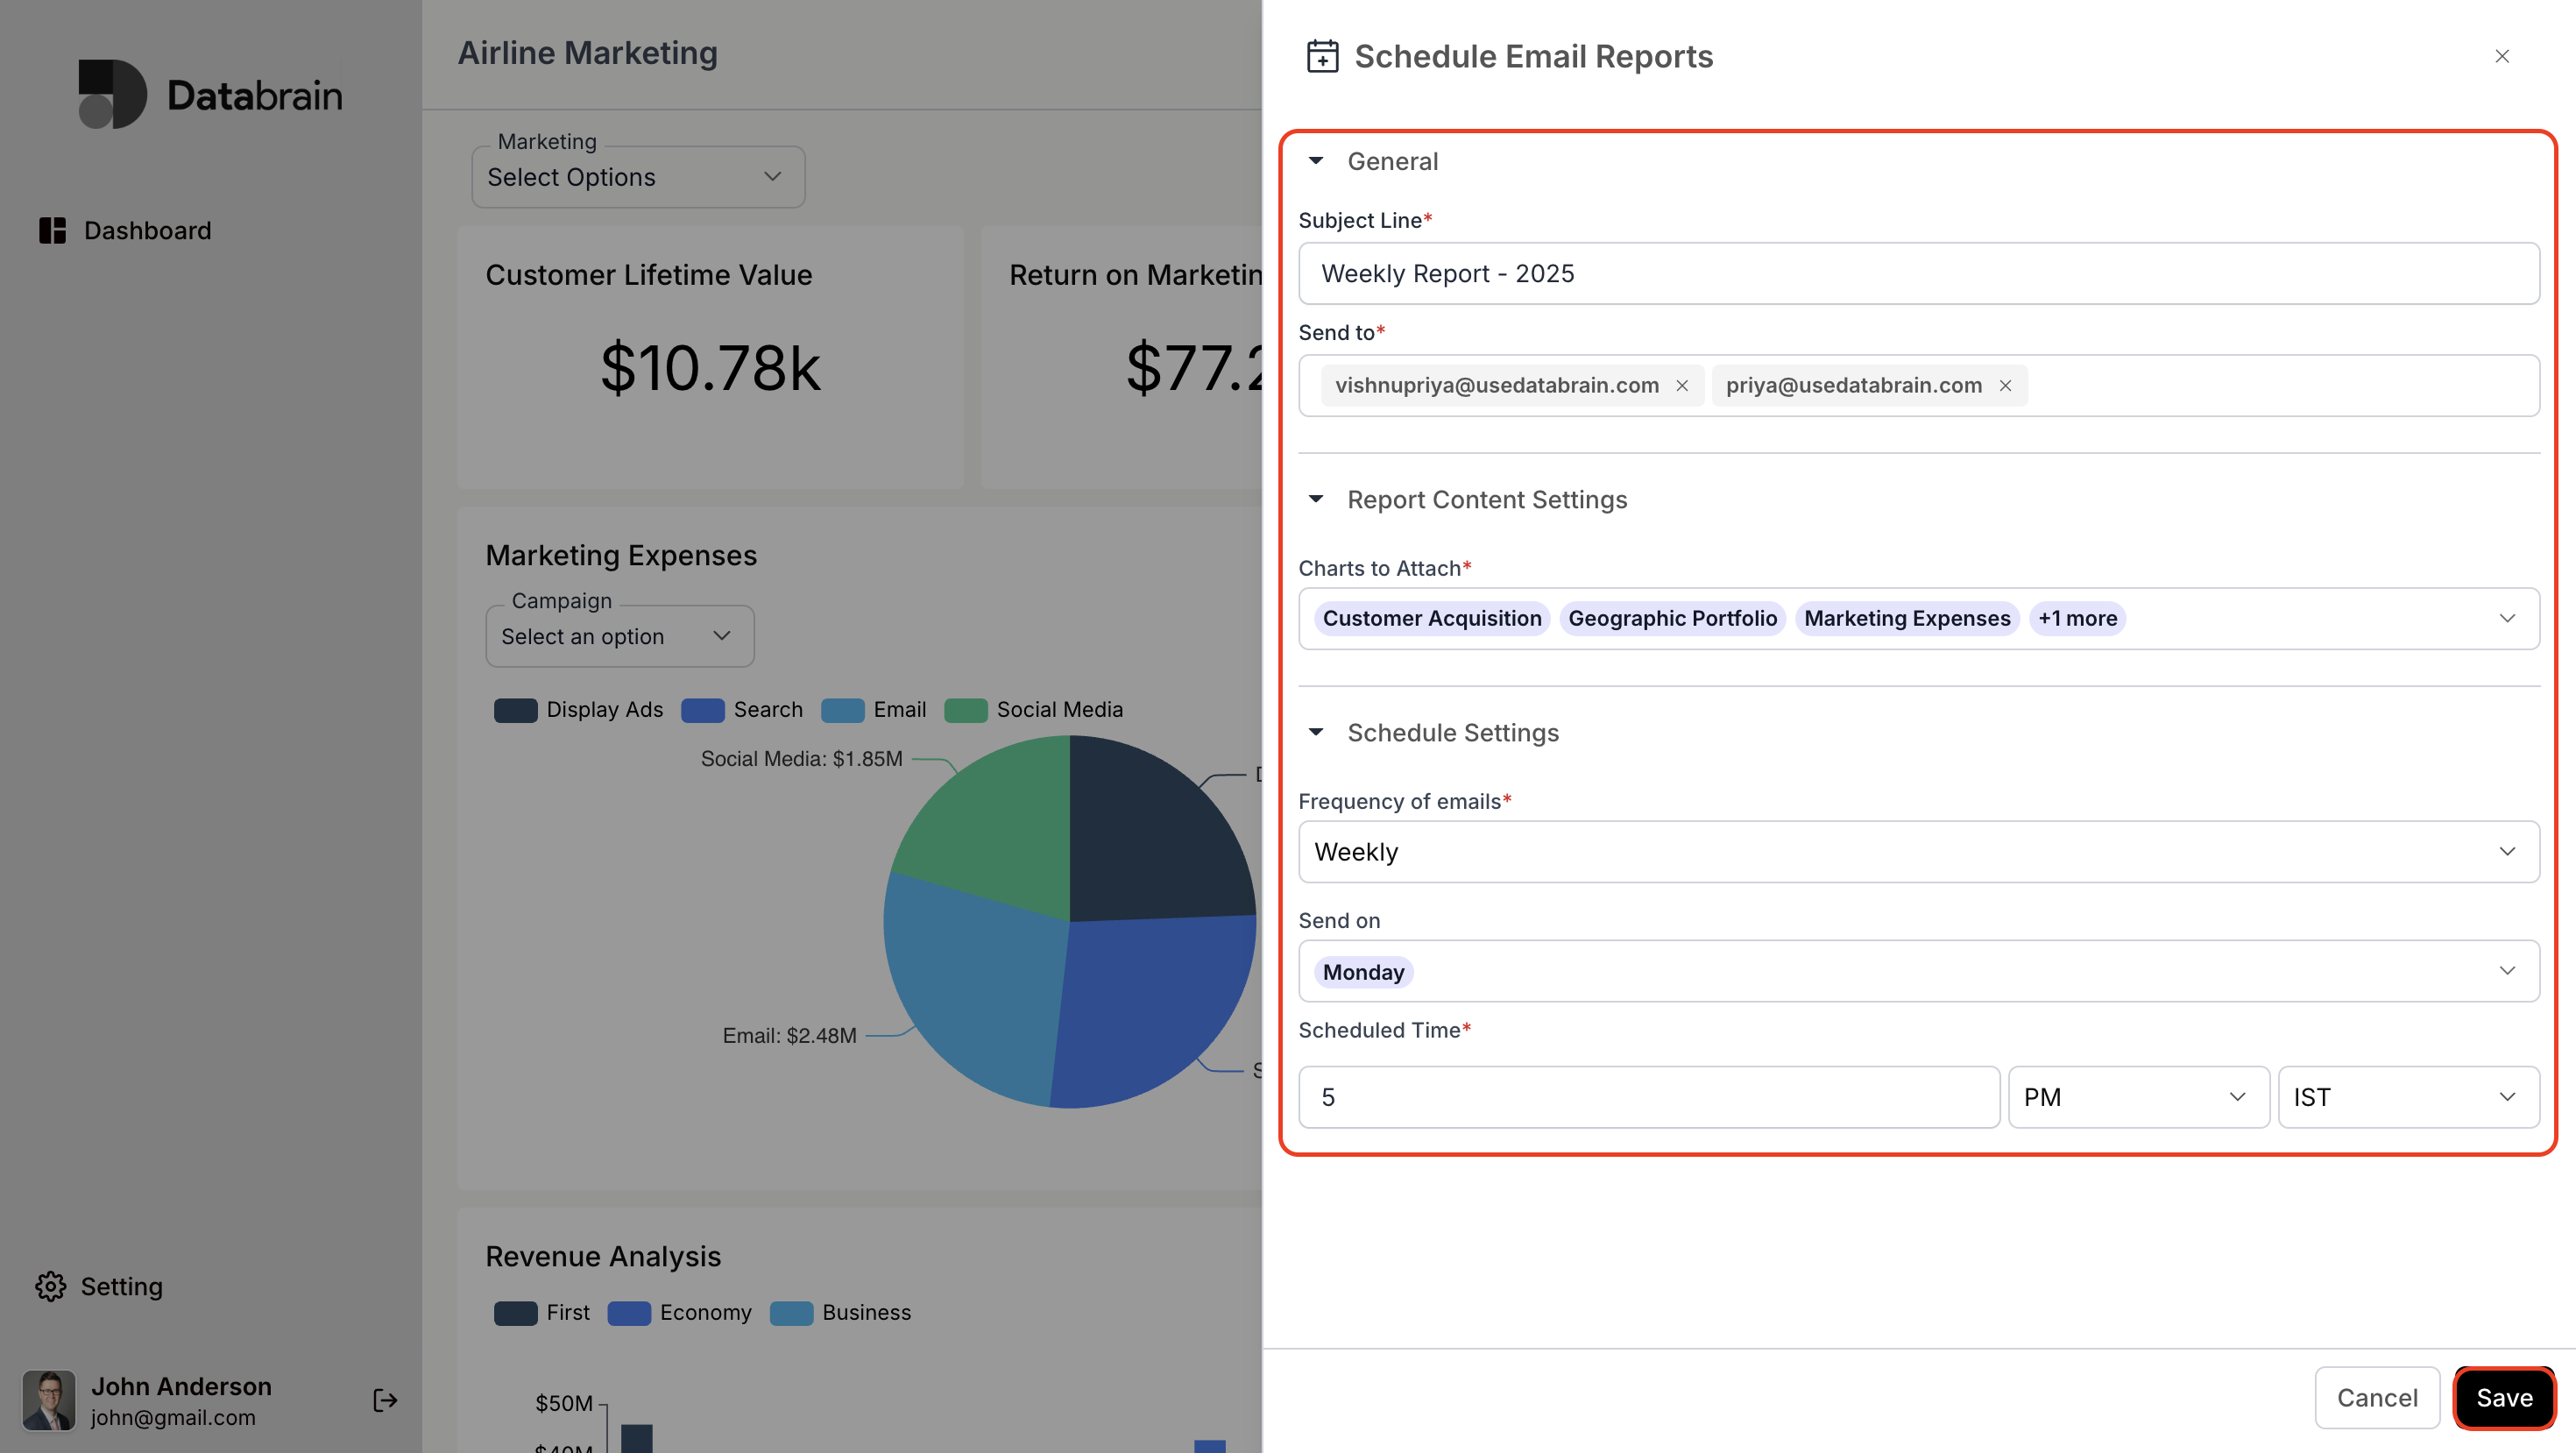
3. Create Schedule Email Reports:
- Enter the required details and click on “Save”
- Finally, the schedule email reports will be shared to your email ID.