Workspace Settings
This guide provides essential insights on customizing your workspace settings effectively. This ensures optimal accessibility and control over your data.
Last updated
This guide provides essential insights on customizing your workspace settings effectively. This ensures optimal accessibility and control over your data.
Last updated
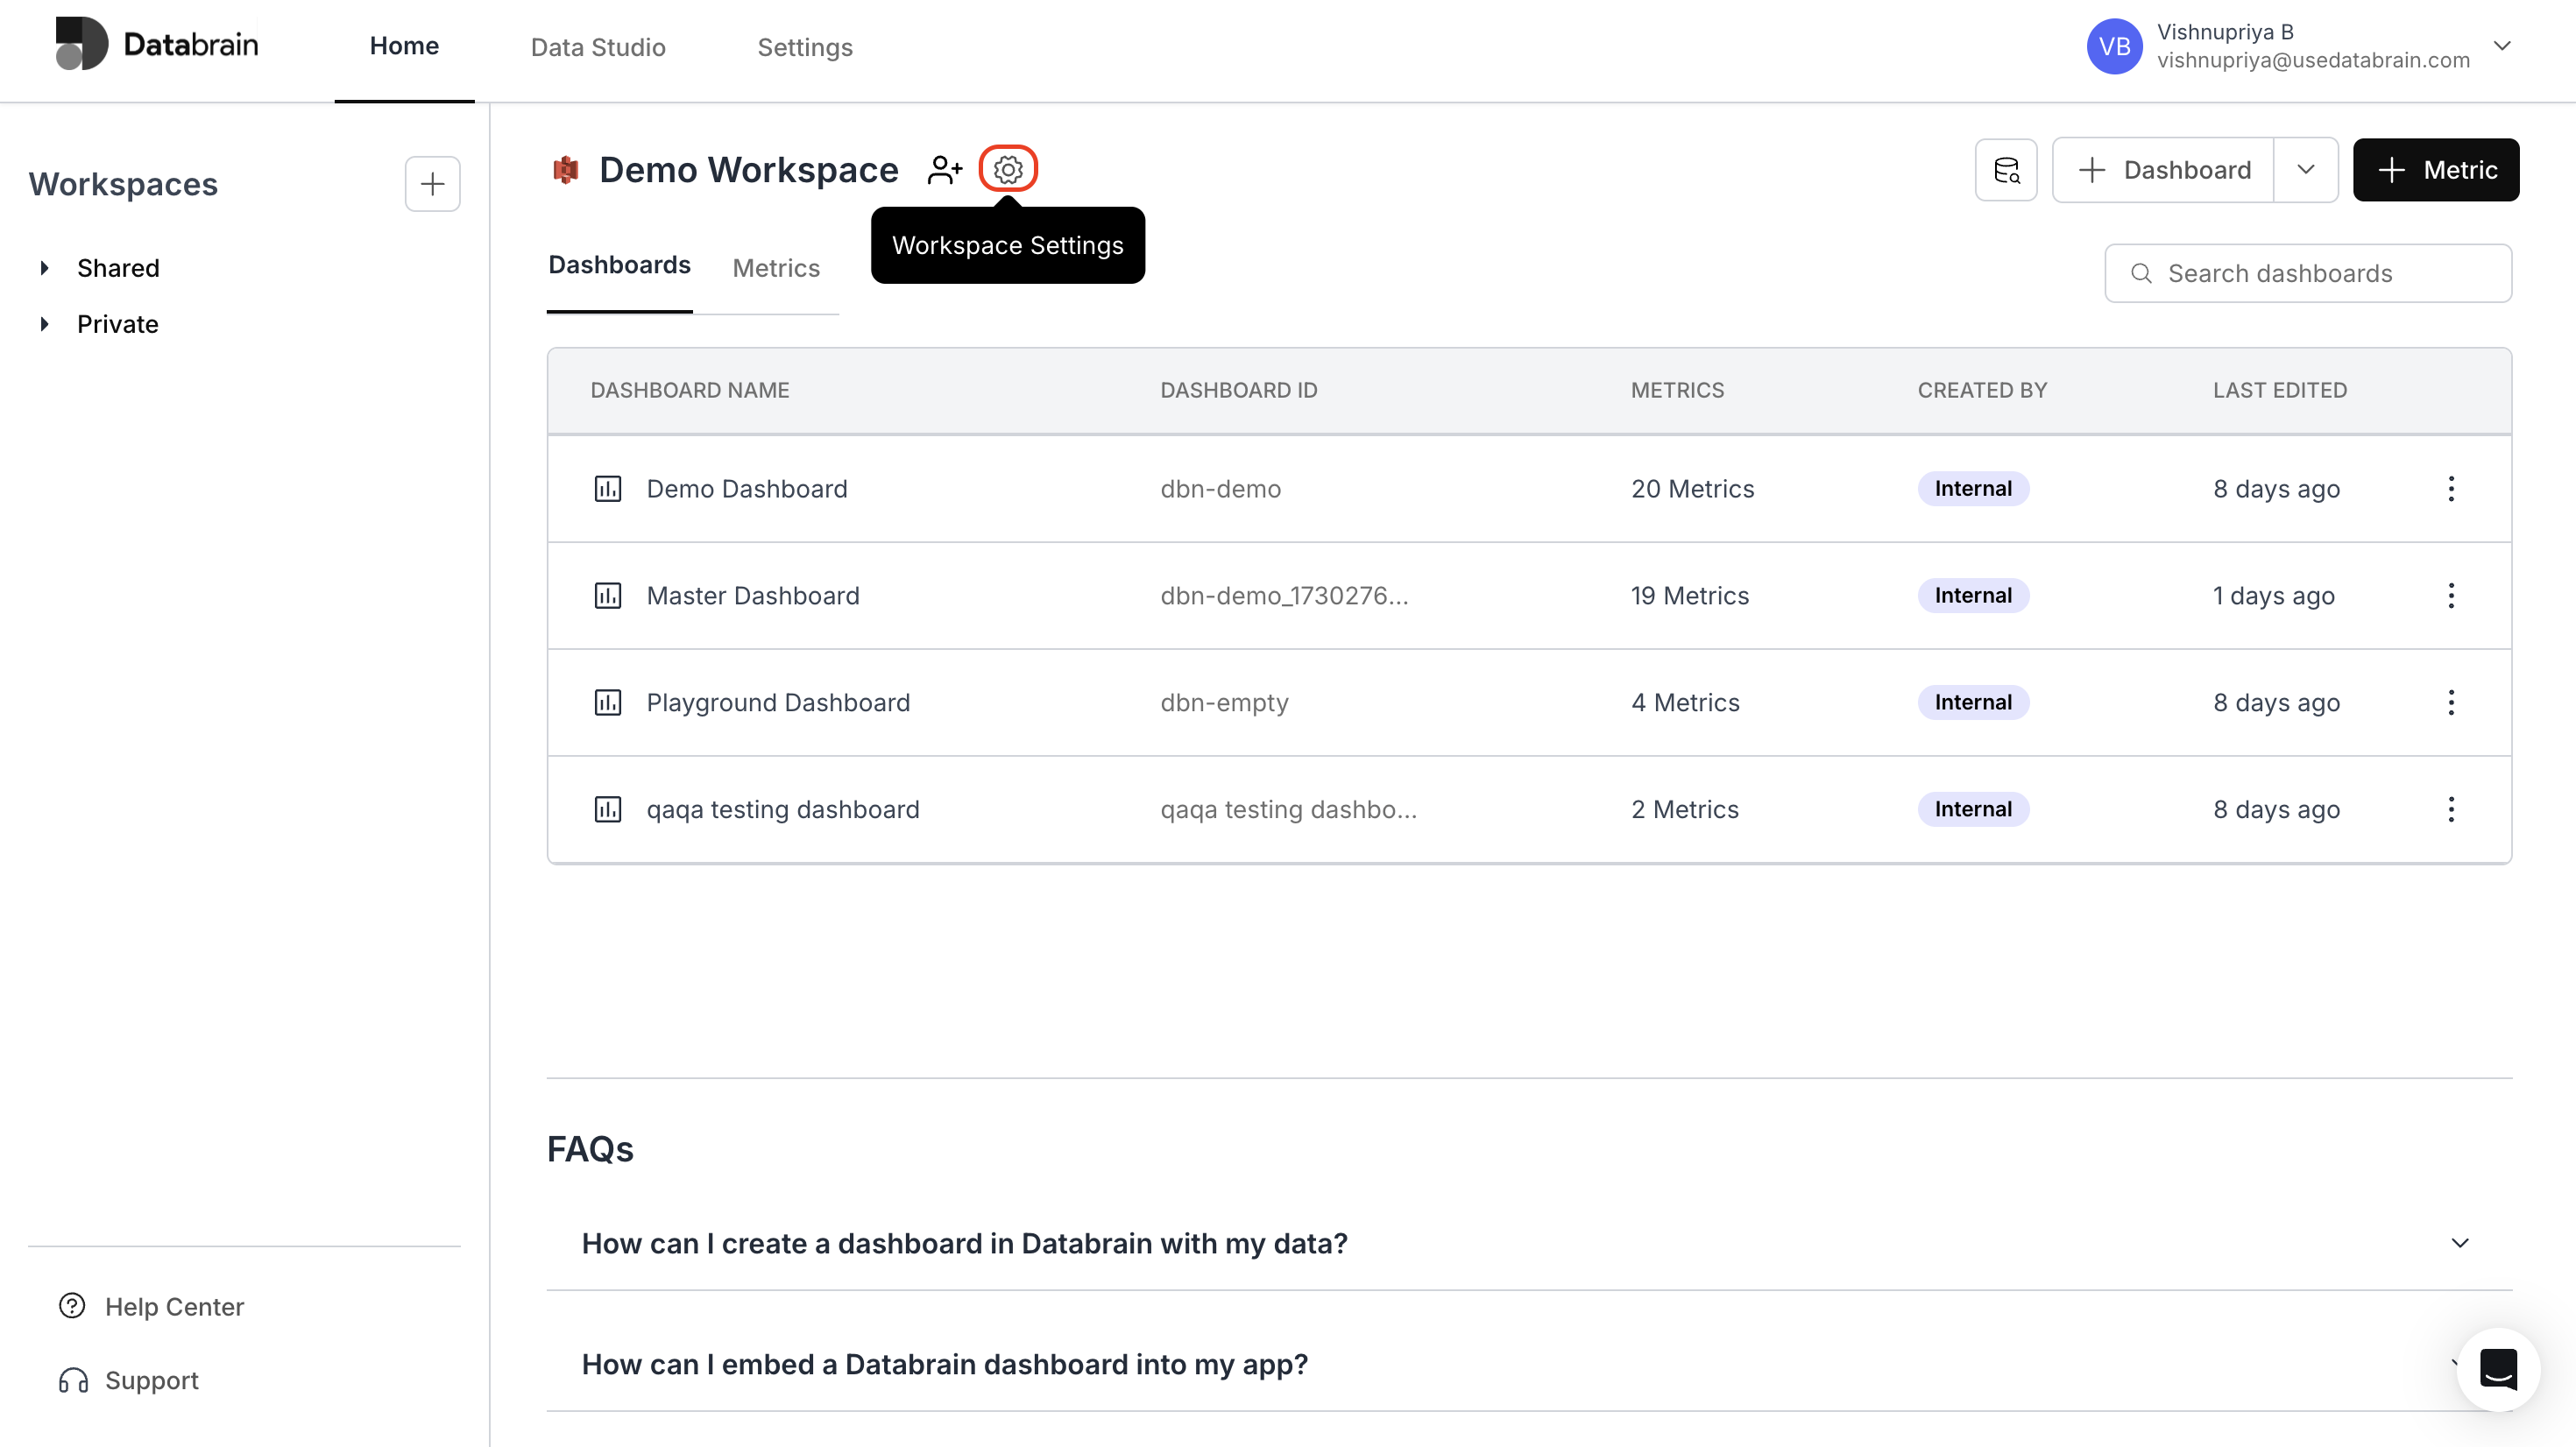
Access Workspace Settings:
Click on the "Settings" icon adjacent to your workspace in the "Home" page.
Configure General Settings:
In the "General" section, give your workspace a meaningful name that reflects your team or project
Choose your preferred experience:
Power Mode: Advanced features with drag and drop functionality and custom SQL mode
Chat Mode: Simplified interface for users to ask natural language questions about data
Then choose the desired data connection: Data Source or Data Mart and also select the name of Data Source/Data Mart from the dropdown.
You can set specific themes to your workspace and enable the "Metric Summary" option to summarize your metric.
Delete the workspace if needed.
Configure Access Control:
In the "Access Control" section, you can set access permissions for your end users by toggling the following options:
"Metric Creation": Lets users create metrics.
"Metric Deletion": Grants users the capability to erase metrics.
"Manage Metrics": Enables users to manage the metrics displayed on your dashboard.
"Metric Updation": Enables users to update metrics.
"Change Dashboard Layout": Permits users to alter the dashboard's layout.
"Schedule Email Reports": Enables users to schedule automated email reports for your metrics.
"Underlying Data": Grants you access to view the raw data that supports each metric.
Configure Cache Settings:
Under "Cache Settings", toggle "Cache Settings" to enable or disable data caching.
Configure Download Settings:
Under "Download Settings" tab:
Toggle "Download via E-Mail" to enable or disable downloading raw data.
Control users' ability to download raw data. This is achieved by temporarily storing data in our S3 bucket for a designated duration.
Finally, click on "Save" button to ensure a tailored workspace experience in Databrain.