Take control of your data exploration with Databrain’s powerful dashboard filters. Whether you need simple dropdowns, dynamic ranges, or complex SQL-based filtering, our comprehensive filter system puts precision data analysis at your fingertips. This guide walks you through creating and customizing filters that transform how you interact with your dashboards.
- Add Dashboard Filters:
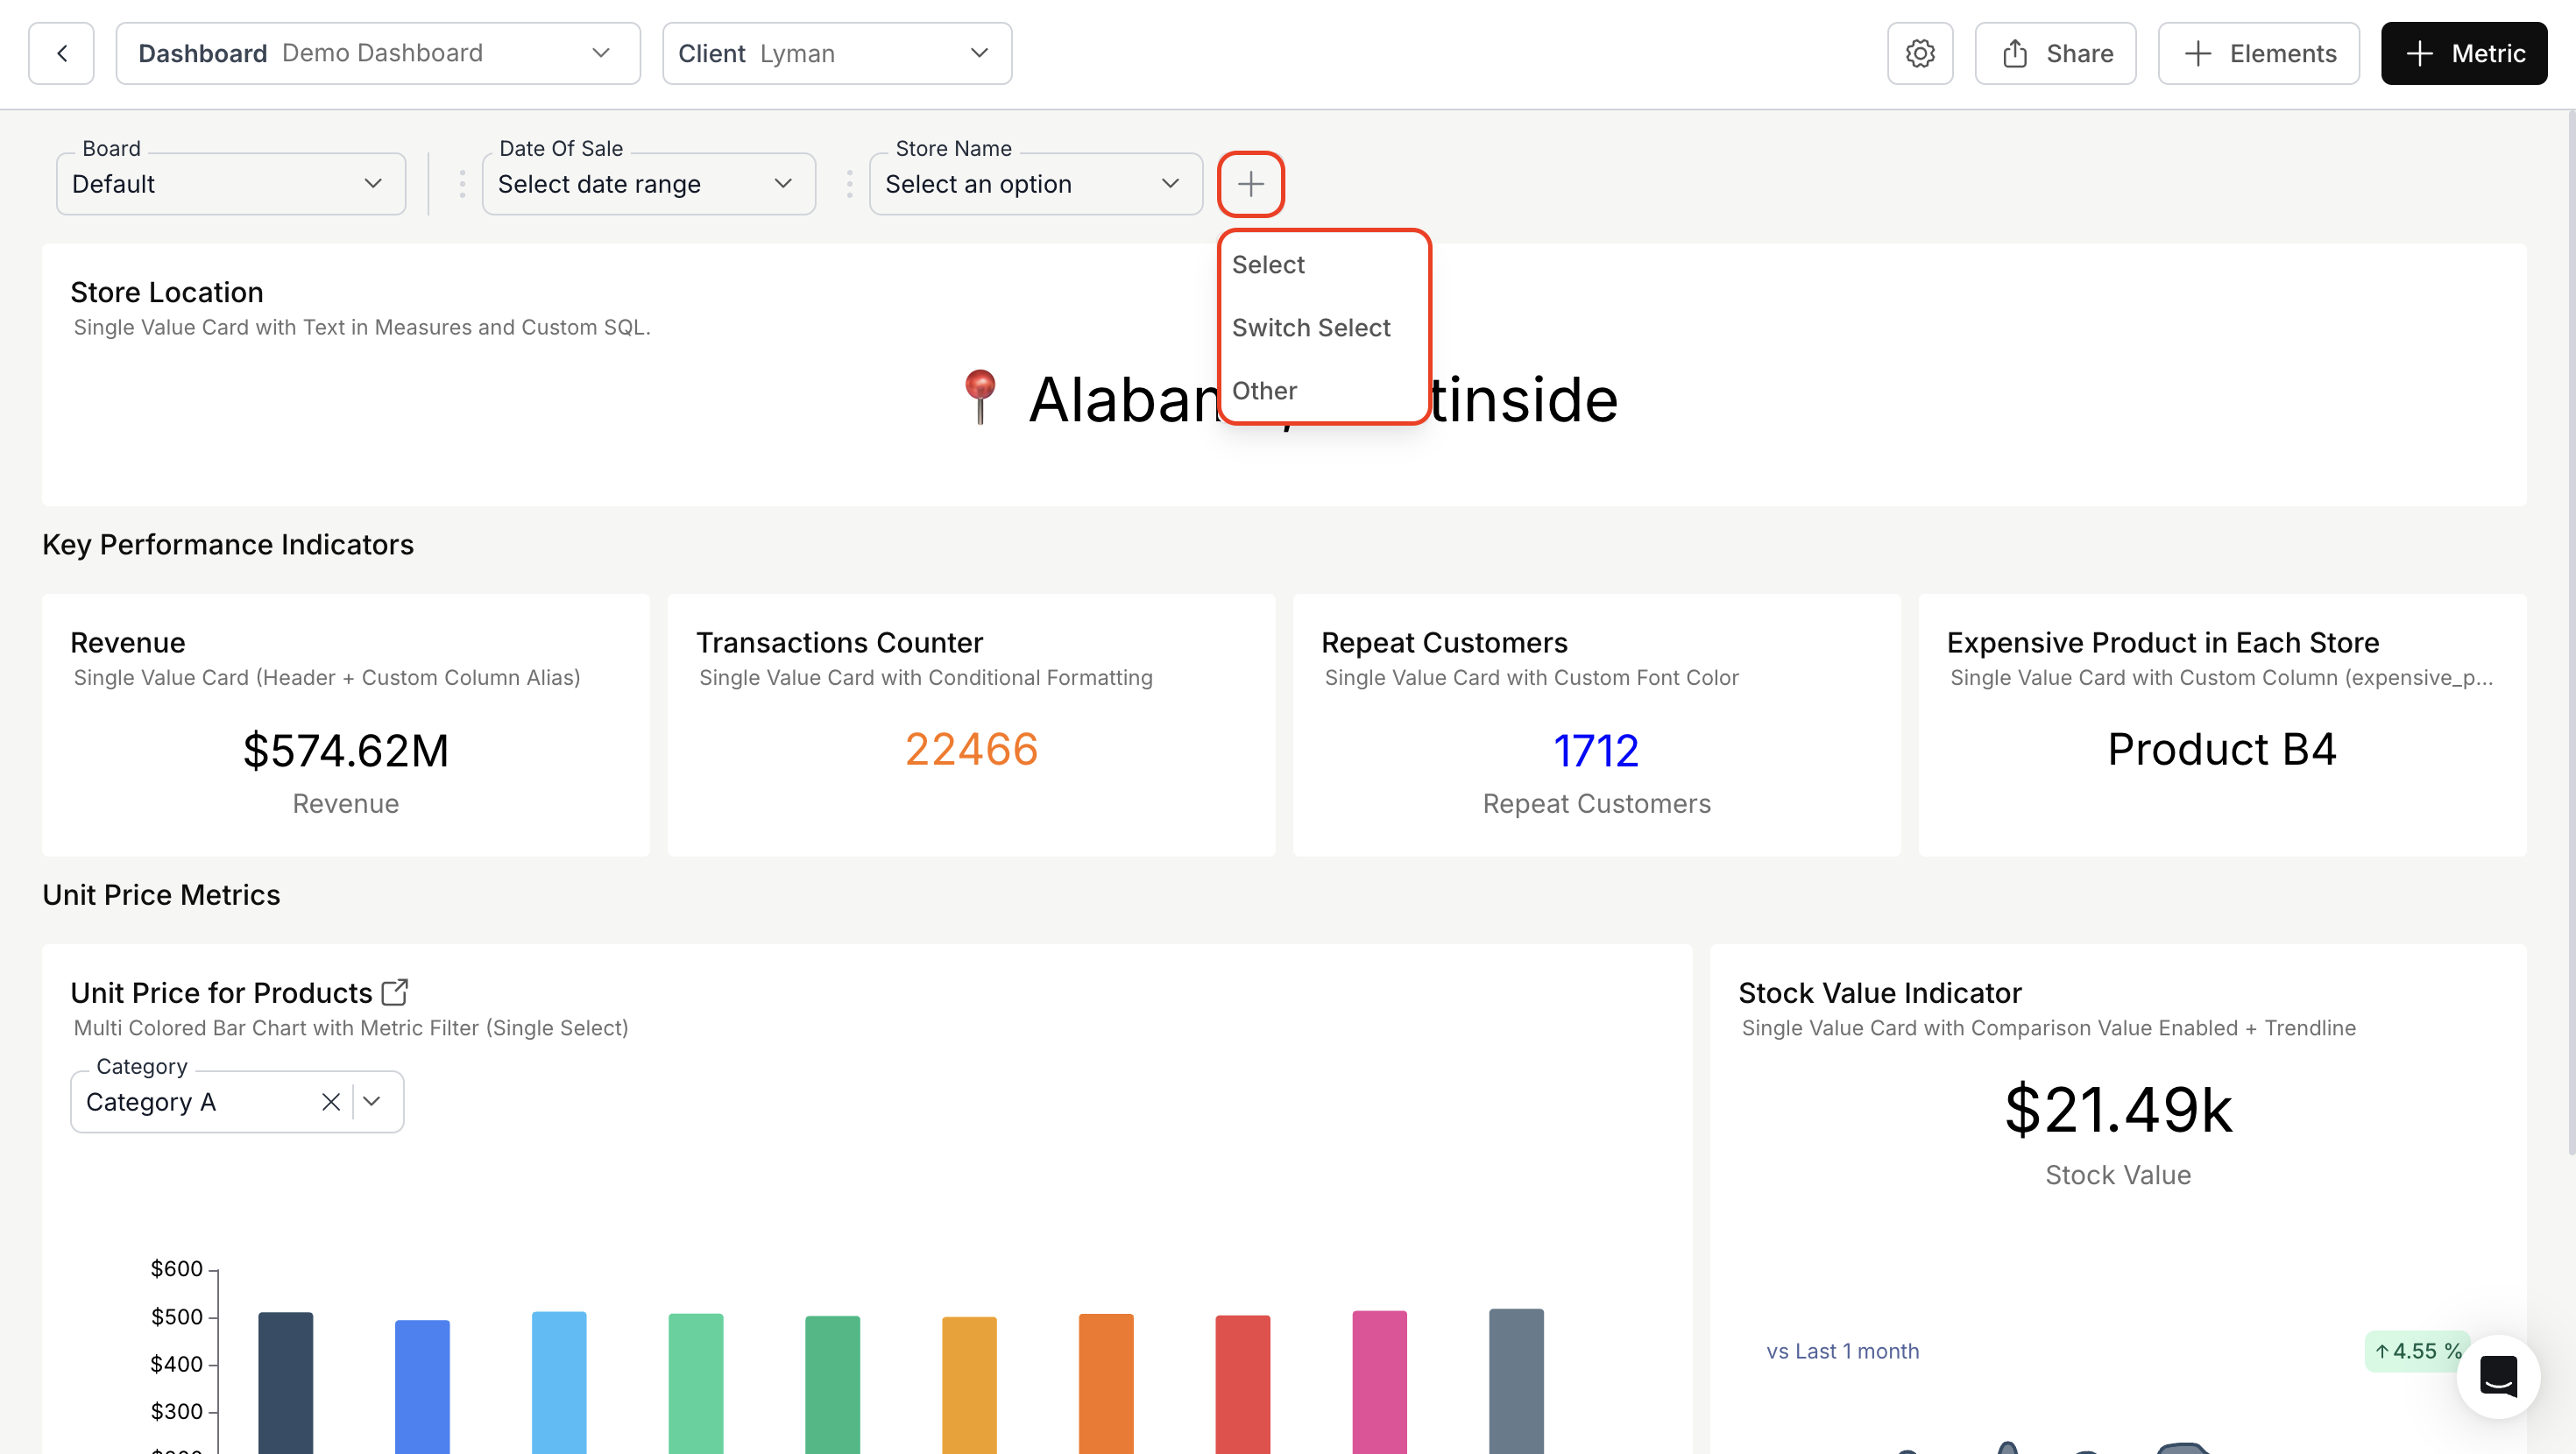
- Click the ”+” icon to add a dashboard filter.
- Choose filter type from the dropdown menu:
- Select: Creates filters at the top of your dashboard
- Switch Select: Creates compact dropdown filters with labels in the left sidebar “Filters” panel
- Other: Creates additional filters in the left sidebar “Filters” panel
- Configuring a Filter:
- Method 1: Auto Filter Type
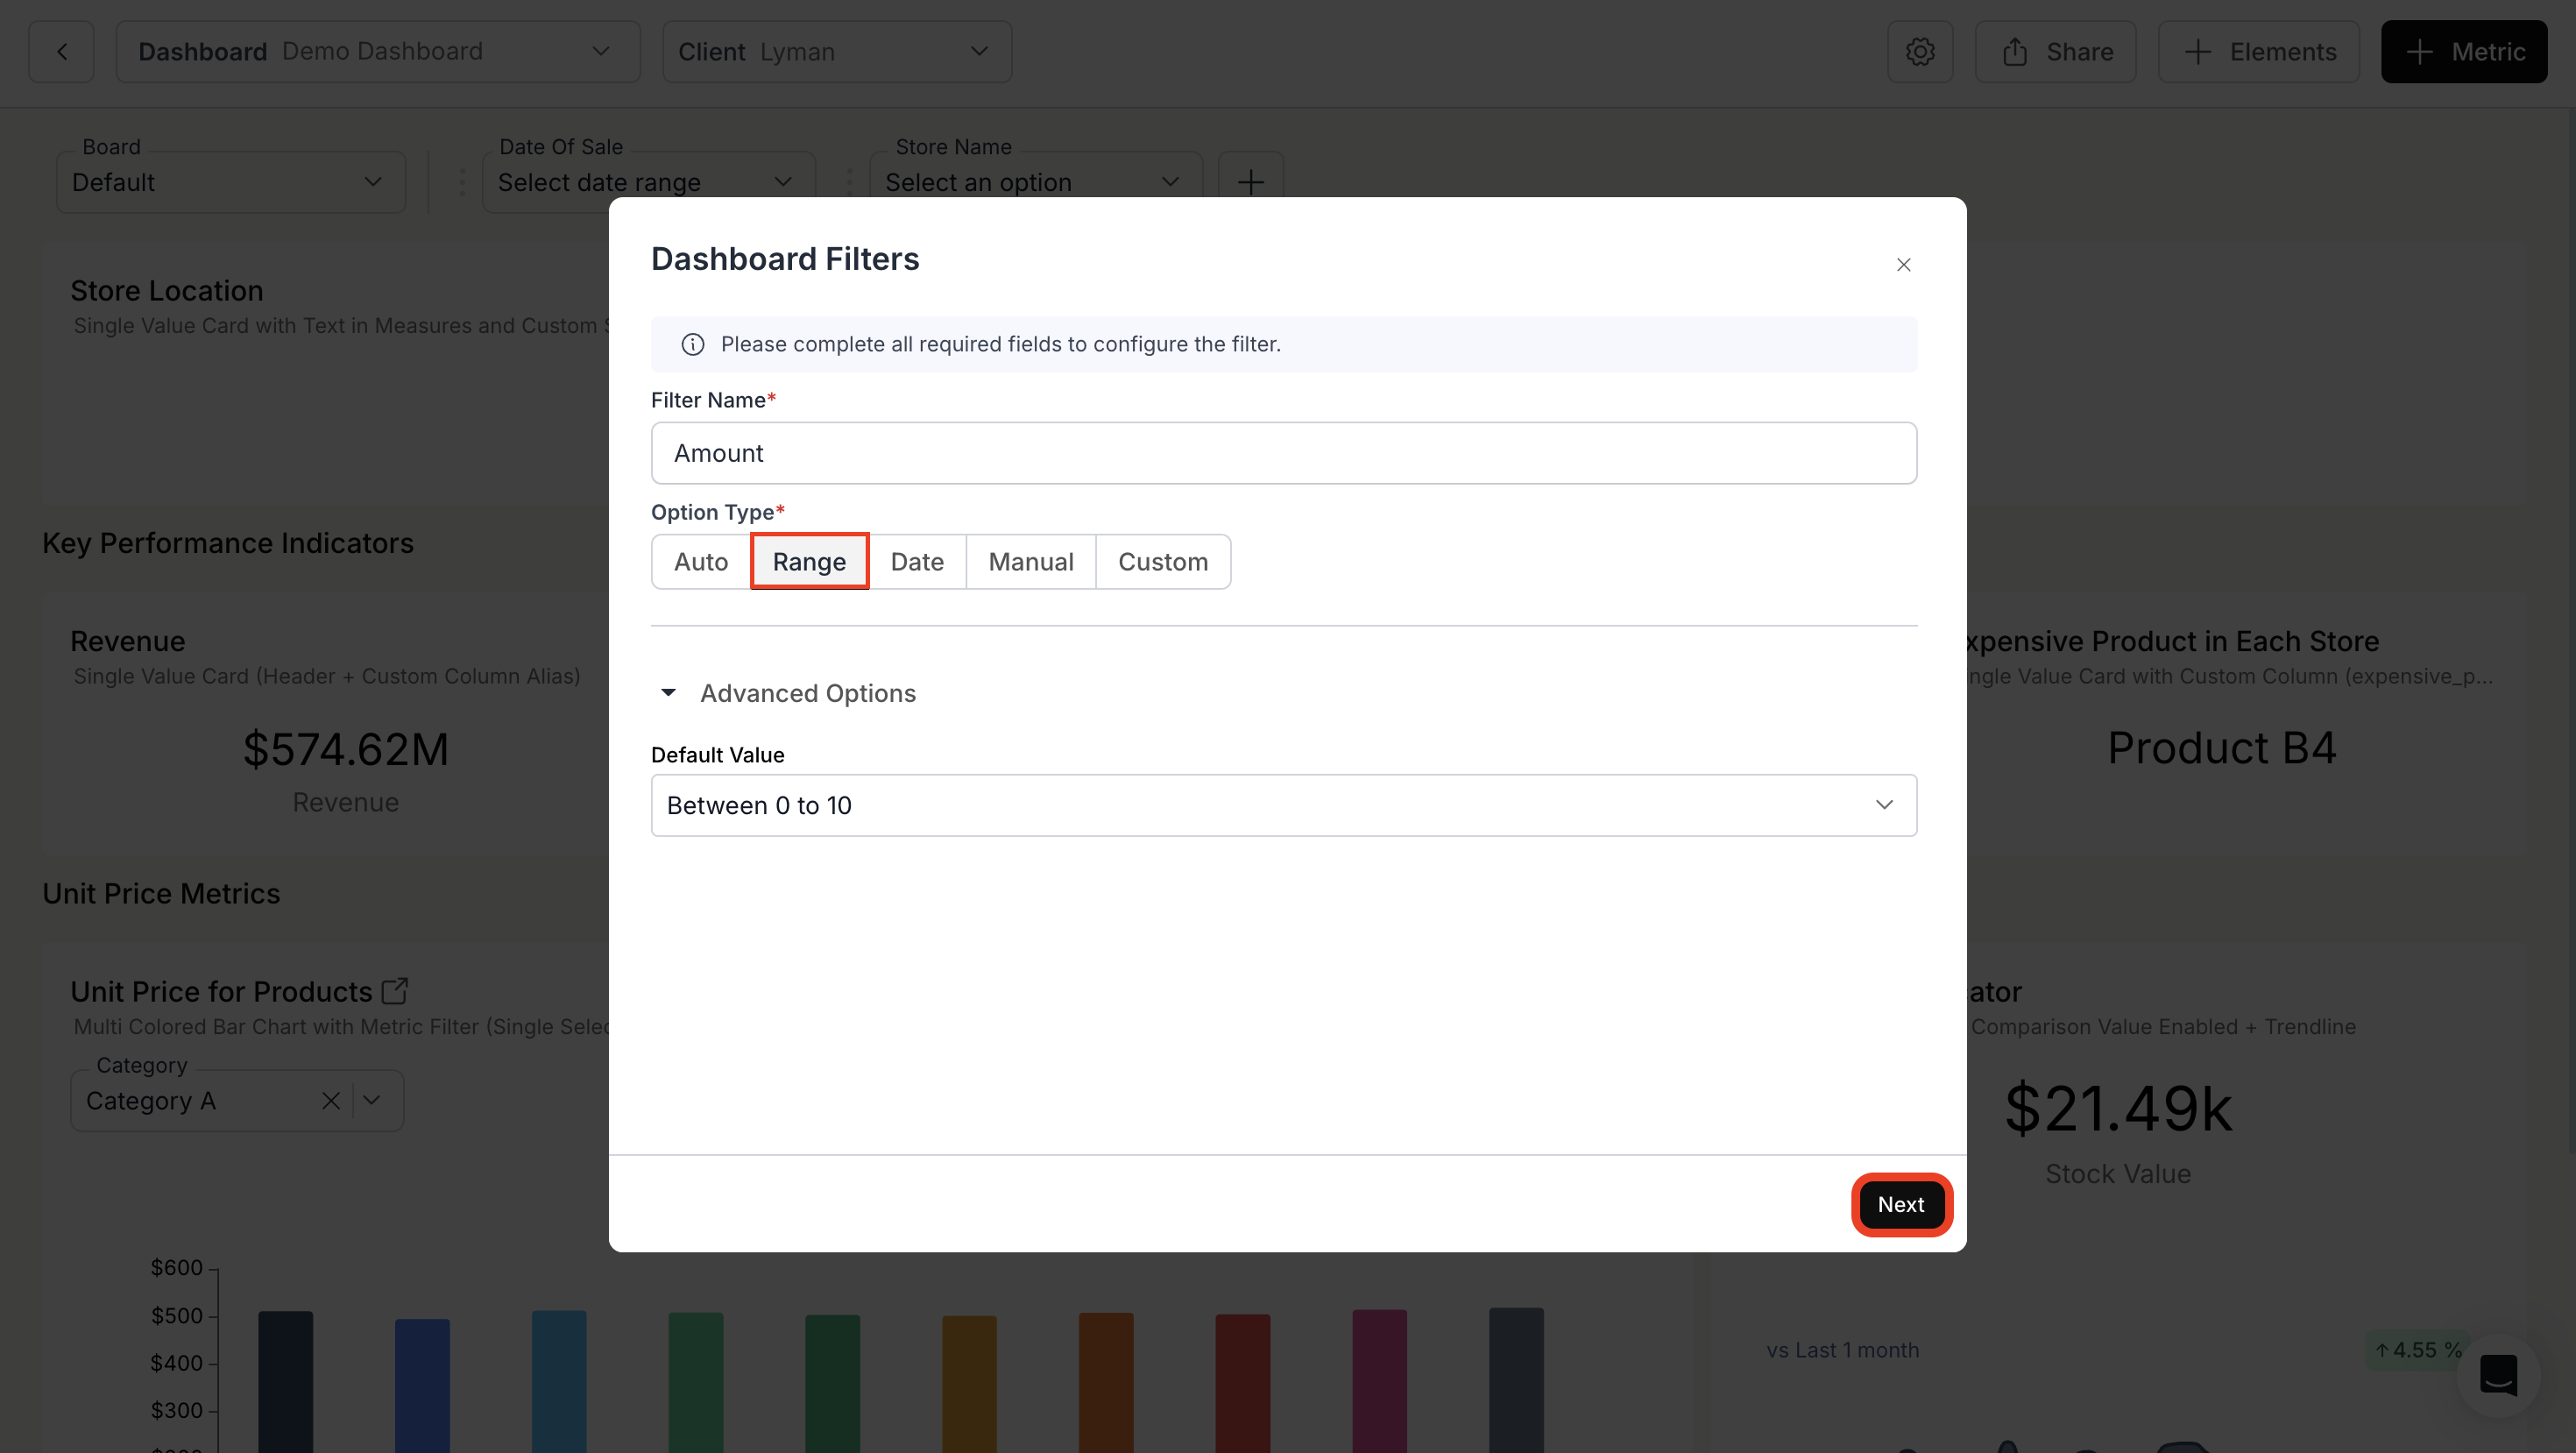
Automatically filters based on existing database columns - best for straightforward data filtering without customization. - Method 2: Range Filter Type
Creates min-max sliding selectors - perfect for numerical data like prices, ages, or quantities. - Method 3: Date Filter Type
Handles all time-based filtering - ideal for selecting date ranges and time periods. - Method 4: Manual Filter Type
Uses predefined static options - great when you need a fixed list of specific choices. - Method 5: Custom Filter Type
Enables complex SQL-based filtering - essential when you need custom logic or calculations in your filters.
- Filter Variant: Choose between single select, multi-select, or search options
- Choose a Unique Label Column
- Show Client Scoped Filter Options
- Auto Select Default Value
- Depend On
- Manual filter options are entered one by one in the UI: for each option, enter a Value (the exact value used in the query) and a Label (what users see in the dropdown). You do not paste a full JSON structure—add options using the UI (e.g. “Add option” or similar).

- Apply on and Variable Filter:
For a more detailed guide on Variable Apply On, kindly refer the below link:
Dashboard Filter - Variable Apply On
Functioning of Variable Apply On method available in Dashboard Filters.
- Modify Dashboard Filter:
- To modify the configurations of any dashboard filter, click on the “Edit” button.
- To remove a filter, select “Delete” filter.
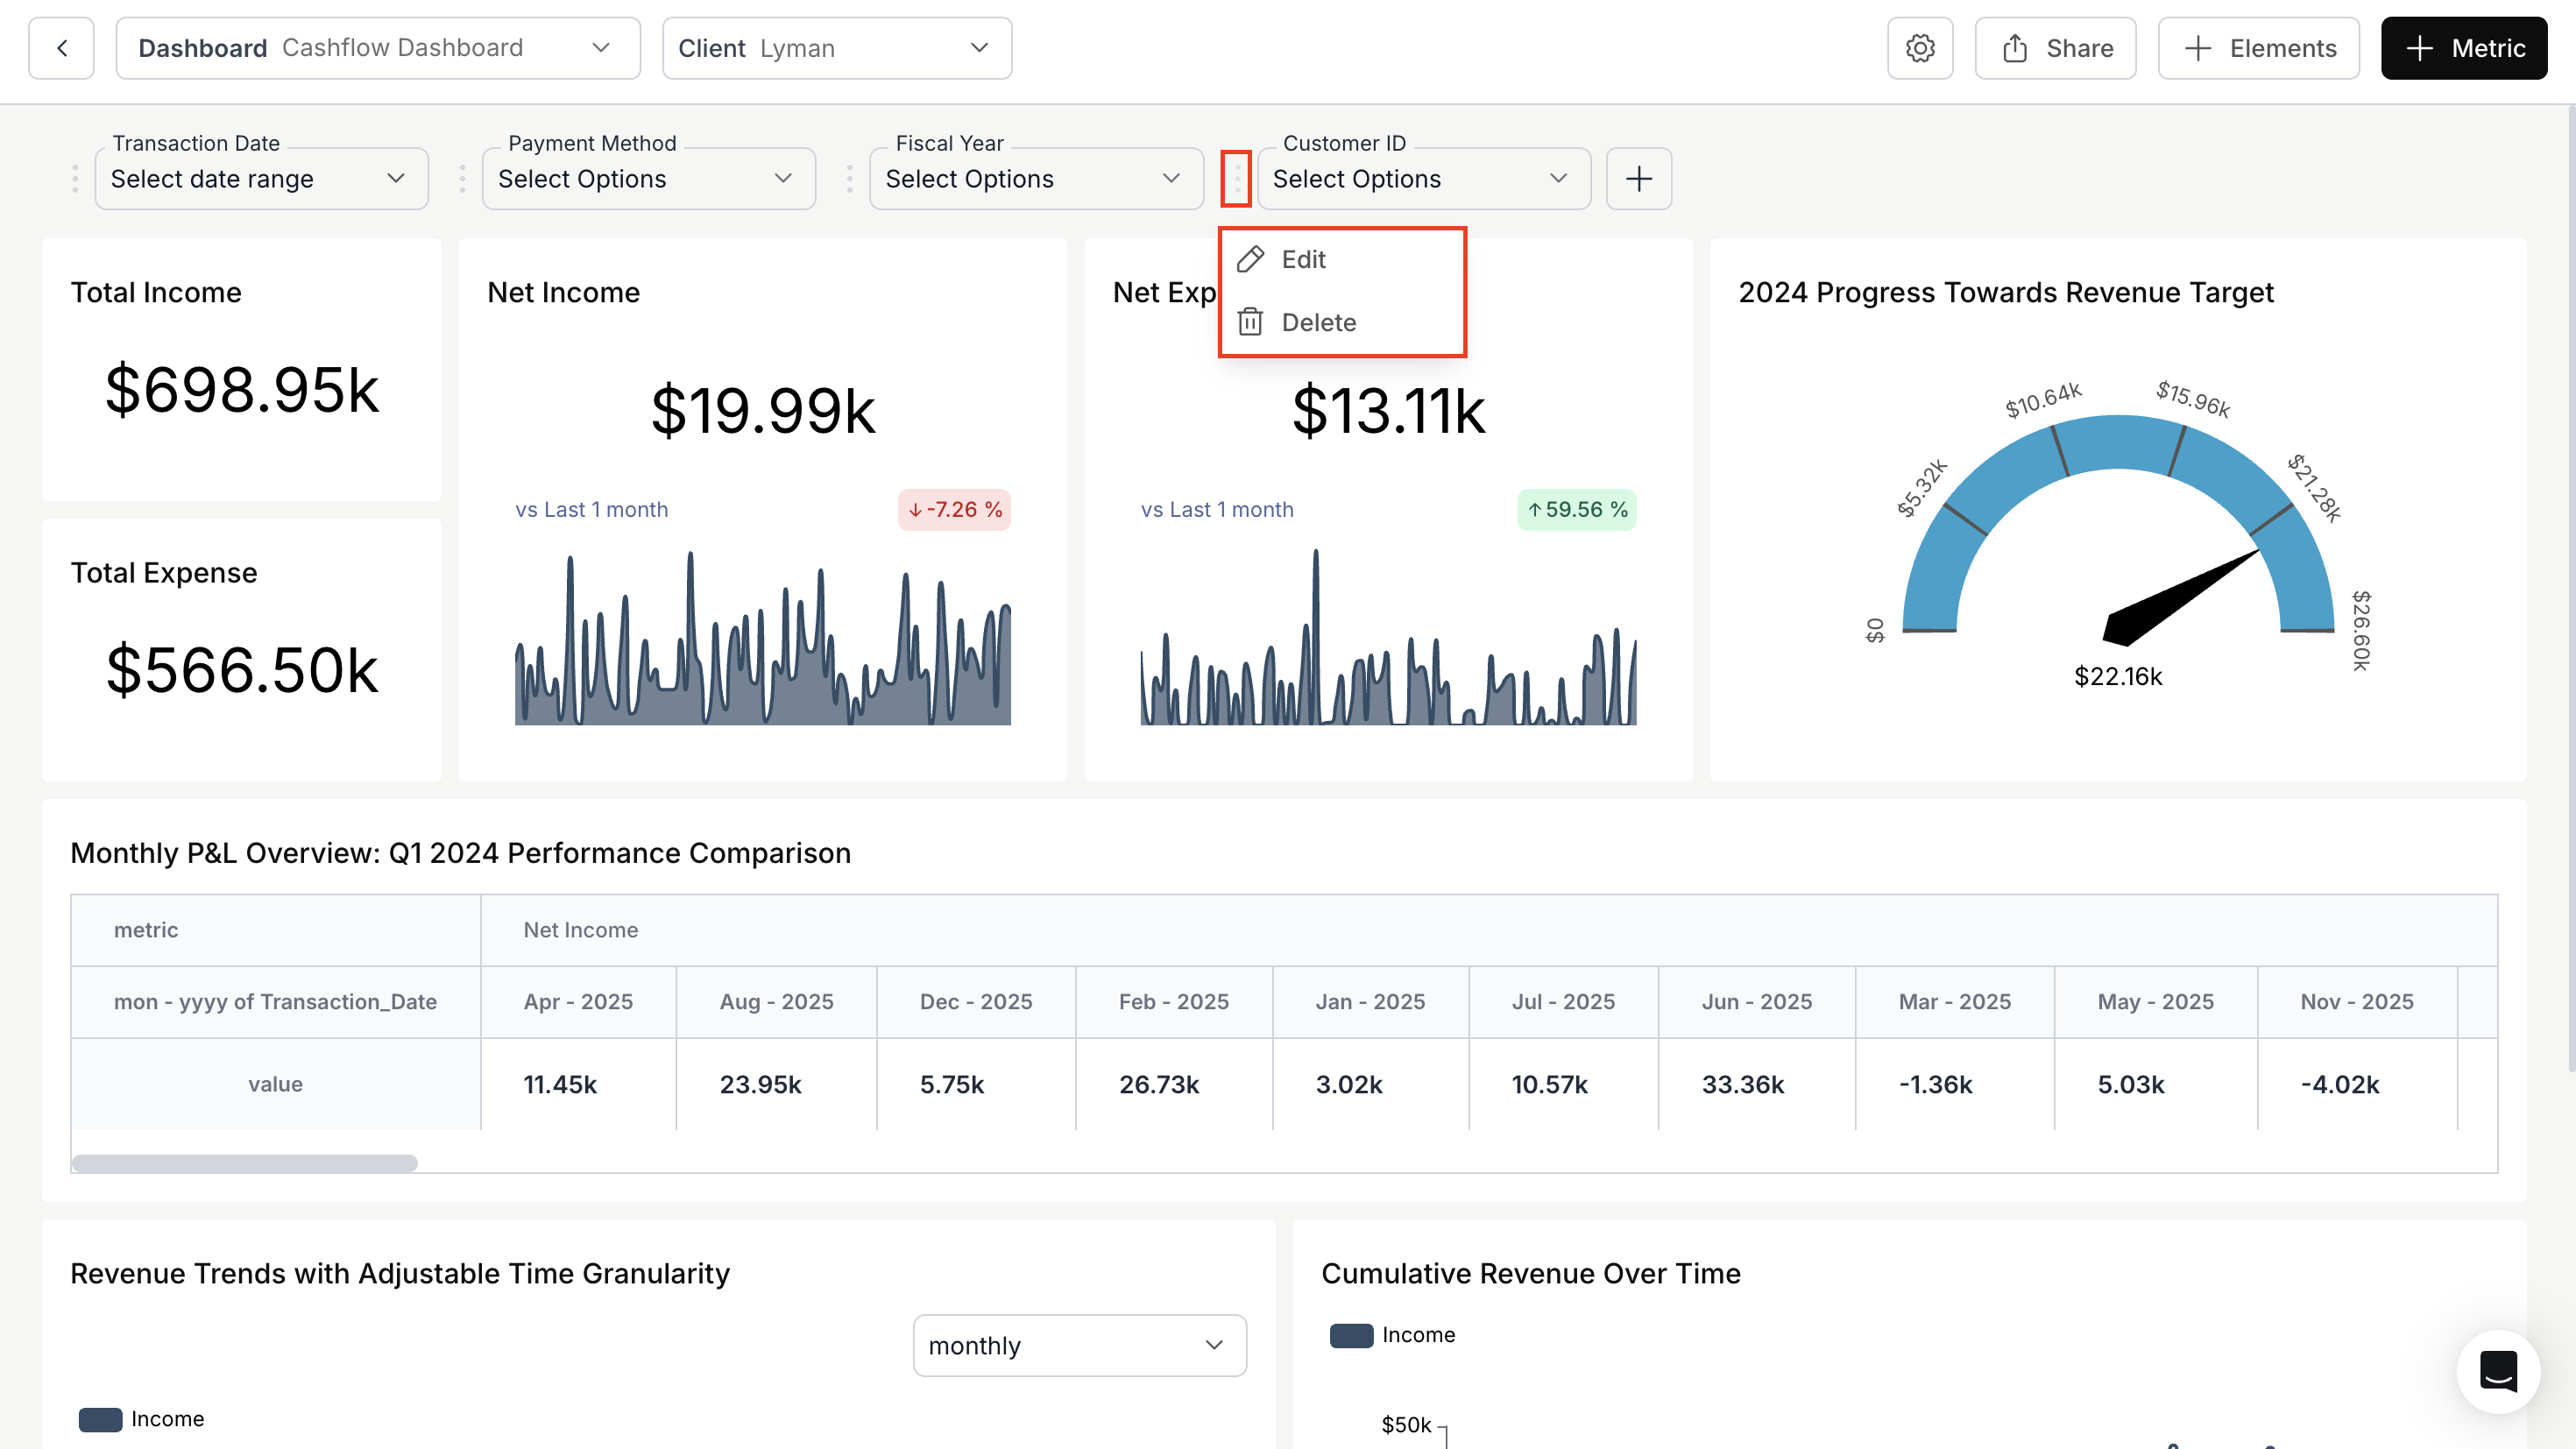
Dashboard Filter created and configured successfully.